Ending with Edits
To edit my final music video, I used an app called InShot for most of the process. This was an app I discovered during the commercial project. And because I became familiar with it during that process, I figured it would be easiest to edit there.
While filming my shots, I inserted each clip into my InShot project draft as I went. After filming my final shot, I got to cleaning things up. I started this by shortening down and adjusting each clip to sync up with the music. This proved extremely simple, because during filming I made sure to make each clip extra long so there would be no problems of a clip not fitting the lyric portions. Though one thing that was difficult was reaching the time limit. To achieve this, I lengthened the intro and added a title scene. Using the "text" feature, I created a title, then added a transition to make it slide into the screen.
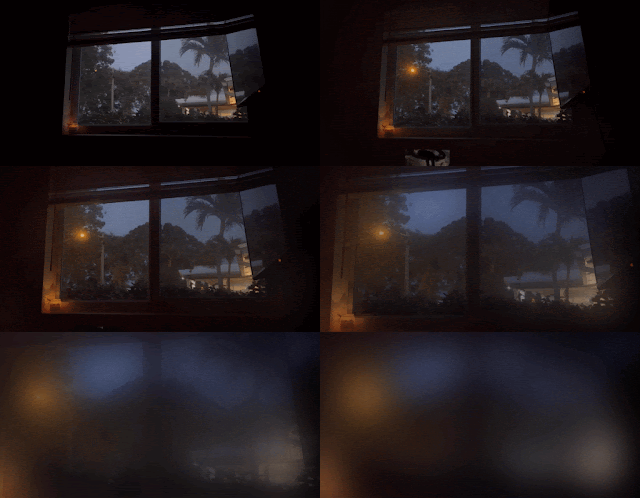
Then came the zoom affects I planned in my storyboard process. I discovered InShot didn't have a zoom animation feature to add to specific clips. So, I transitioned to CapCut to insert the two time lapse clips that needed zooms! While doing this, I learned CapCut was the far superior app when it came to editing, so next project I will note to use that one instead. I applied the zoom feature, saved the clips, and added them back to my InShot draft.
The final step in the editing process was inserting transitions. For many of the clips, a simple cut sufficed. I hadn't wanted to over use transitions, to create a bloated and messy looking video, so transition effects were minimal. Between some clips, I decided to use a blur. In those clips, the shots were to contrasted and a cut was to abrupt, so the slow zoom added a softer feeling switch.
After a few more touchups, my video was done. I am excited to show you the result of the past months work in the next post, stay tuned!


Comments
Post a Comment